

Digital Lighting and Gobos
When you're on a budget (who isn't?), you look for ways to make up for various shortcomings with creativity. One such method I've been exploring is the use of digital lighting and gobos.
The theory is pretty simple. If your shot is reasonably well explosed, you will not have either crushed blacks or blown out whites. If that's the case, you have a LOT or latitude to make modifications to your shot in regard to contrast and color.
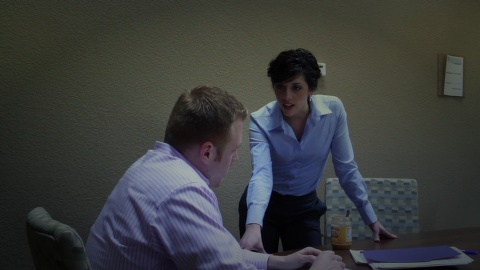
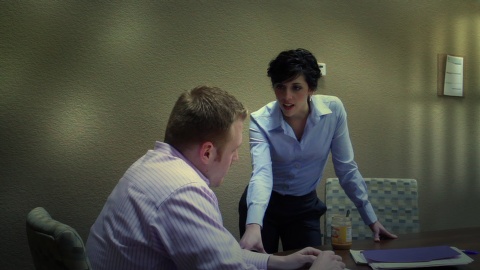
The classic problem is that because of either an inadequate location, poor preparation, or a flagrant disregard for production design, you find yourself doing a shot where the background is, well, blah. Such a case we see here :
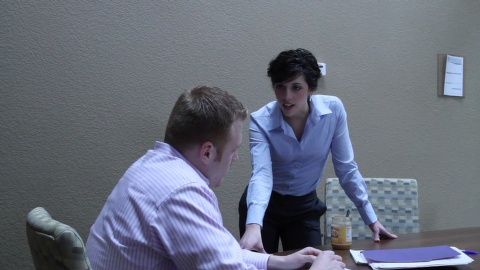
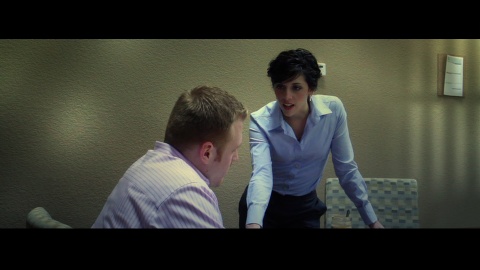
Now, this shot actually is pretty well exposed, which means if you start monkeying with the contrast, you're likely to send some of the bright areas into no man's land. So, for starters, we need to throttle down the overall brightness of the shot :
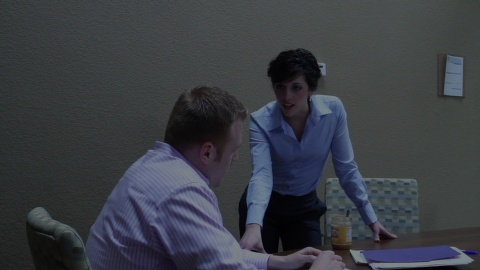
Ick, right? Agreed, but this is just the starting point. Now we've got lot's of latitude for adding light and color creatively, while at the same time salvaging a shot we already agreed was blah. (what's worse, ick or blah? You decide!).
Let's start by adding a simple radial gradient, white to black, to balance the frame and bring the focus to our subjects. This is a good place for using overlay or soft light mode, as these blending modes allow you to deepen the darks and brighten the lights in one step :
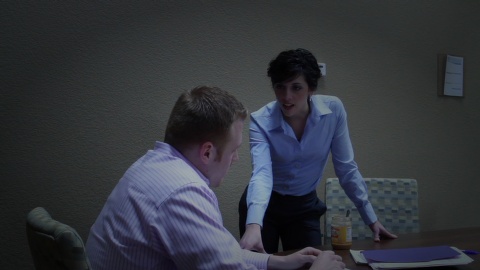
Not bad. Not right, but not bad. Next, I want to add a splash of color that adds some interest. Mostly for reasons of taste, I chose a yellowish orange :
Again, all I did was take a radial gradient - orange to black - and center it on the upper left hand corner. The next few gradients are all in dodge mode, because that allows you to add light while the dark part of the gradient has no effect. Perfect for adding splashes of color.
One might wonder if there's a danger of our actors stepping into the gradient. Yeah, it could happen, but you'd be surprised how tolerant this technique is. Things have to get pretty blatant before you start realizing this is an overlay (as opposed to a real light with a gel).
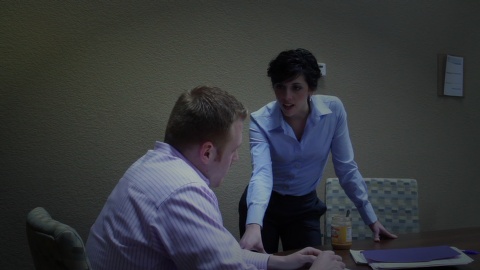
I added a similar gradient on the opposite (upper right) corner. It sort of looks like they have track lighting, no? Here's a good place to point out that the areas of the frame that are, by definition, the least interesting are the places where the actors aren't. Therefore, many shots can benefit from this kind of treatment. Of course, we're assuming this is a locked off shot! If the camera moves, now you're into motion tracking, which is a whole 'nother issue.
Rule of thumb : Learn from the generations of cinema that came before there were digital effects. To make cool effects effective, quick and cheap, lock off the shot.
I added an overall gradient with some color to get the ambient level up a bit. Next, my first foray into "digital gobos" :
Wow. BIG improvement for teeny effort. Let's keep going.

A second gobo breaks up the other side of the frame. It's contrast and variety - noise if you will - that is interesting visually. It's amazing how this small addition starts to add interest to the shot. Check this one out :
The situation involves law enforcement, so for kicks and grins I added a gobo reminiscient of jail bars. Finally I added two small gradients on our actors faces to bring them out a bit. That's risky, obviously, because if they move much, the gradients need to be animated.
Finally I added the cinescope aspect ratio :
So we went from this :
To this :
All in about 15 minutes or so. A very economical way to add quality and interest to an otherwise drab shot.
- Dave
How to Connect with Blended Planet Pictures :
![]()
![]()
![]()
For the icon-challenged :
Follow BlendedPlanet on Twitter
BlendedPlanet Youtube channel
Follow BlendedPlanet Pictures on Facebook
In a hurry to reach me?
Just call 260-489-4212 - you will get my voicemail, but leave a quick message and I will get back with you promptly. - Dave